new Project taking flight
I have been getting a new project ready this week. I know that many stitchers don’t enjoy the preparation - I really enjoy it!
I like the anticipation of starting, I like getting to know my pattern better while I carefully mark it onto my fabric, I like preparing my fabric(s) and getting them nice and taught in my hoop or onto my frame…. and I love framing up onto my slate frame. It takes time, I know, but there is nothing better than when the fabric sits like a beautiful blank canvas, ready for me to work on.
So what am I working on?
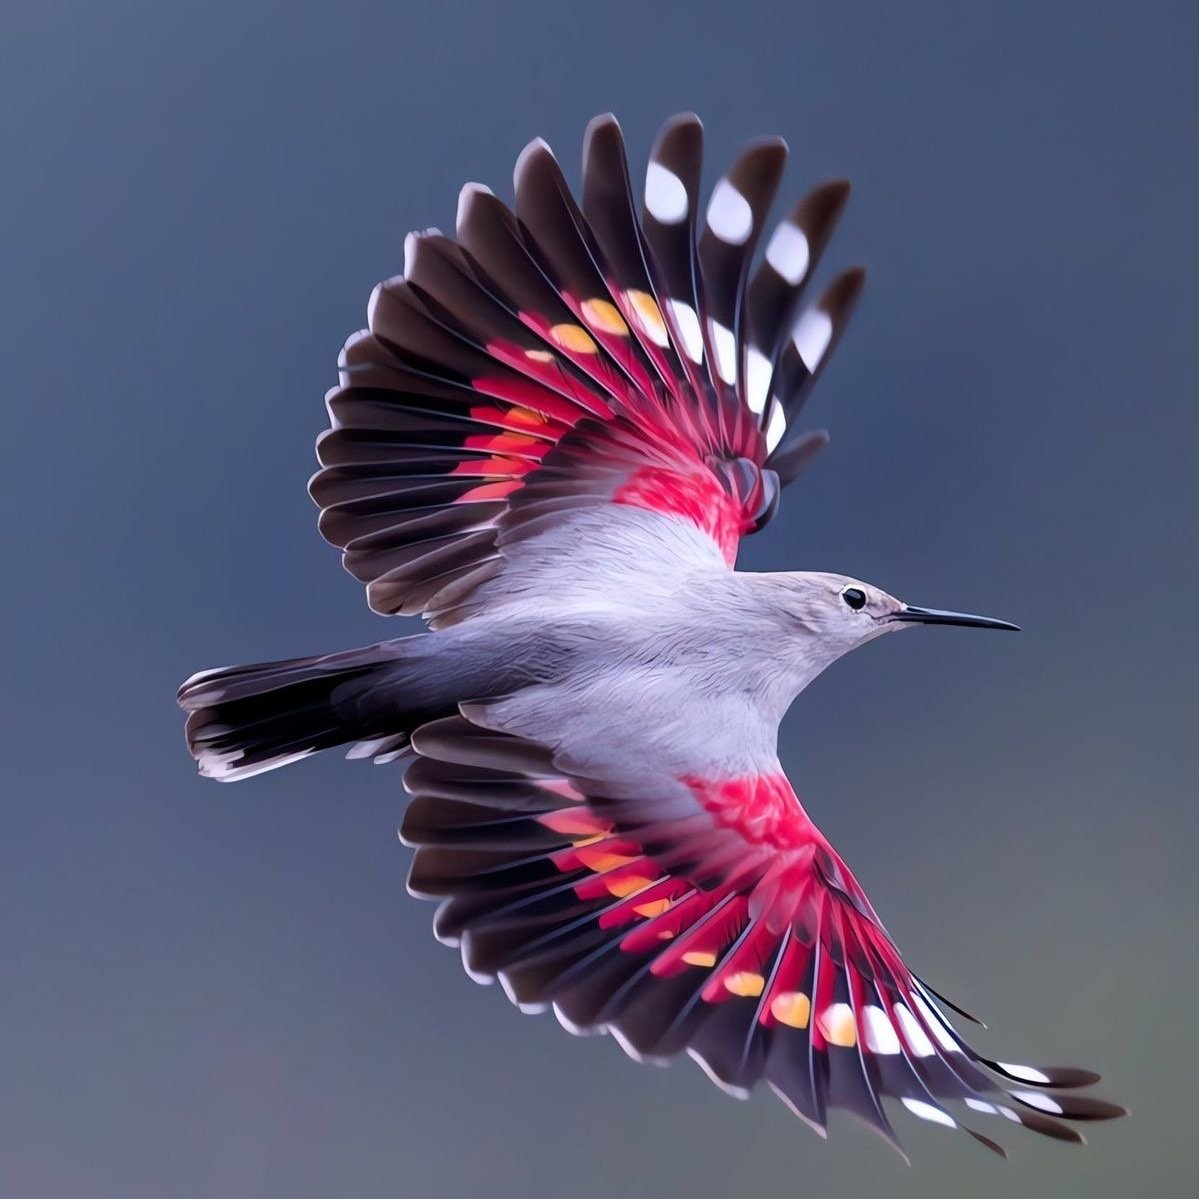
The Wallcreeper
The idea for this design has been simmering since I learned I would be teaching in the Alps again this coming August. I came across this image of a wallcreeper in flight. These little grey birds blend in when they sit on the rocks, but just look what happens when they take flight. Aren’t those scarlet wings just breathtaking?
The design
I do enjoy stitching birds so the idea of a pair of wallcreepers in flight started to take shape.
I have had a piece of slubbed slate blue silk (the colour of the sky in the photograph) in my stash for years that will be perfect for this project.
It took me a little while to work out how to place the birds, but what to do with the background? I didn’t want it to be too traditional or busy.
When I think of the French Alps, I think of tall mountains and cliffs. This design will be tall and narrow(ish), but how to stitch cliffs and rocks without it looking heavy and clunky? I have played with a few ideas and I think I have worked it out - can anyone guess?
I had the design hanging on my microwave for a week or so. I sometimes find it helpful to regularly glance at a new design for a little while before I start. It helps me see and make little ‘tweaks’
Getting Ready
This is the part I was talking about. I confess that I, too, need to conjure up the motivation and make a start, but once I begin, I really enjoy the process.
I do love my large LED lightbox.
Despite the dark colour of the silk, I was still able to trace the design directly. Most of it is fairly simple, but there is quite a bit of detail on the wings, and I know keeping the definition is going to be important when the time comes to embroider all the feathers.
Then the tacking begins
I am mounting this piece onto my slate frame, so the silk needs to be backed. For that, I am using a prewashed, preshrunk calico. It is important to wash fabrics like calico before using them for backing to remove any seizing and firm the fabric up.
To stabilise the long edges of the backing fabric, I have machine-stitched a narrow channel and placed a cord inside it along each side. This will add extra strength when I lace the fabric edges to the frame later.
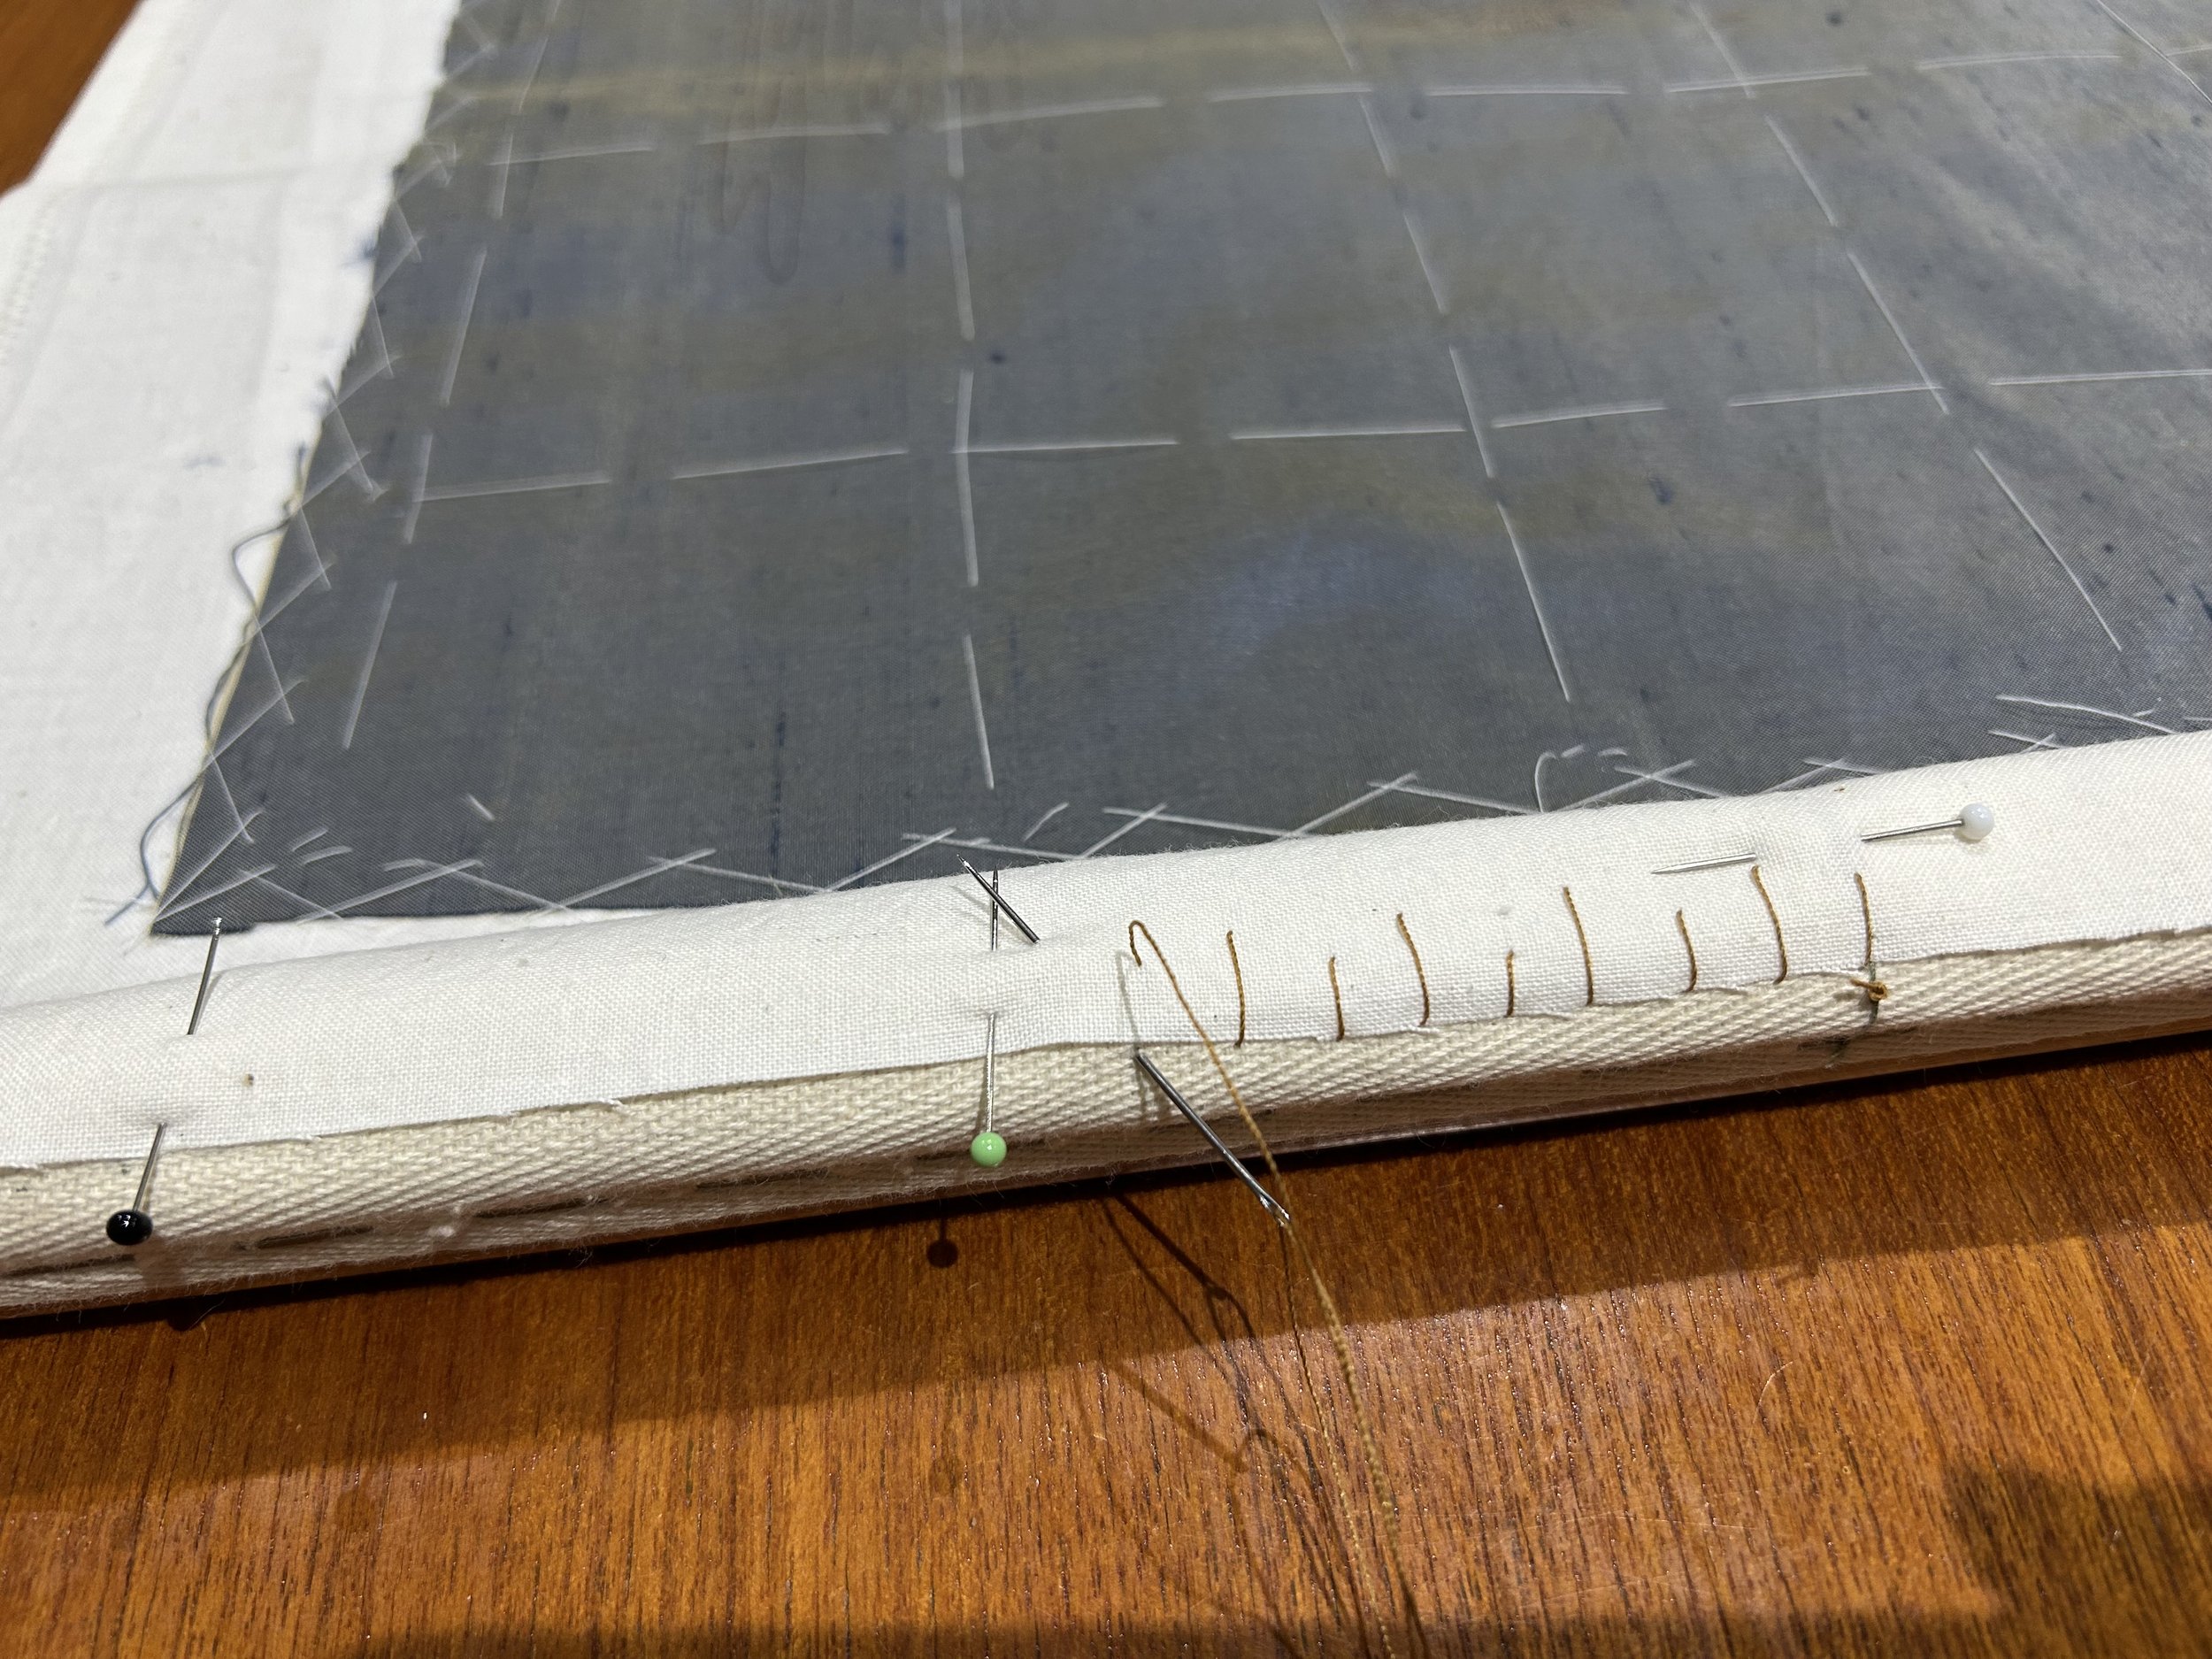
To make sure the two fabrics stay smooth and aligned while I mount them, I tack them together in a grid. Each line of tacking is worked from the centre line towards the edge (never all the way across) to prevent the silk fabric from ‘riding’ across. It is also important that hte layered fabrics are laying flat on the work surface the whole time. If you start lifting them up, the layering will distort.
The backing fabric is cut bigger than the silk, so I use herringbone stitch to stitch the edges of the silk. It both holds the edges and stops the silk from fraying at the same time.
The first step to mount the fabrics onto the frame is to stitch the upper and lower edges of the backing fabric to the tape on the roller bars.
There are different ways to do this. I like to place the backing fabric over the tape and overcast stitch it in place. I use a quilting or jeans sewing thread and alternate the length of the stitches to distribute the pull on the fabric.
After putting the frame together, I first tightened it just enough to hold the layered fabric smooth before adding a row of smaller tacking stitches along each side - roughly the outline of the finished design. Once the frame is pulled really tight, the original tacking can mark the fabric within the design so I remove them.
Next, the cord inside the casing along each side is pulled firm and tied to the roller bars. The edge is laced to the sidebar. I use a firm cotton string that won’t stretch over time. I found this chirpy red and white one in the craft section of a discount shop. The lacing cord is stitched through the fabric so it catches the cord inside the edge and around the side bar between each stitch.
When I tightened the lacing at the sides, the original herringbone stitch proved to be too big and spaced to hold the edges well. So, I added a much smaller herringbone edge to give it the hold it needed. No need to pull the original out.
Ready to stitch
And here it all is..
I am looking for to embroidering this piece, so it is ready for the embroidery retreat in the French Alps with Creative Experiences in August.
It is satisfying to have all the preparation work done, and I enjoy having my Wallcreeper sitting neat and tidy and ready to go. If all goes to plan, I will make a start this weekend.
Best Stitches,
Anna XX


